Introduction
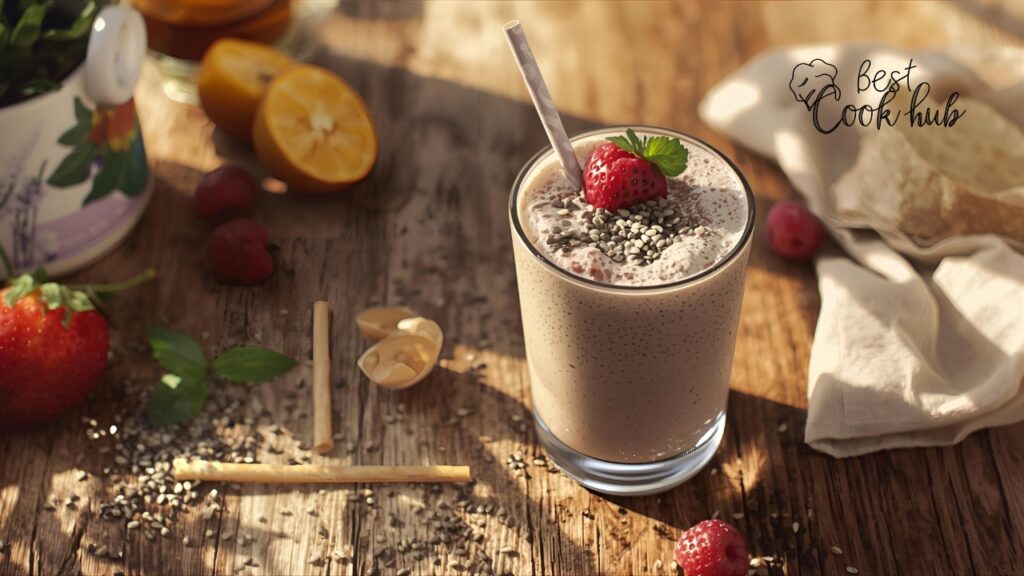
Losing weight can often feel like an uphill climb. Diets are confusing, workouts are hard to sustain, and energy levels can dip fast. But there’s a simple, practical, and evidence-backed way to give your weight loss journey a gentle boost: chia seeds smoothies.
This blog post will walk you through how to make chia seeds smoothie for weight loss using easy steps, real-life case study insights, nutritional facts, and strategic tips to help you get real results.
We’ll keep it simple. No fancy ingredients. No confusing instructions. Just a realistic, sustainable, and effective method that anyone can follow.
The Weight Loss Problem
Weight loss is one of the most common health goals worldwide. According to the World Health Organization, global obesity rates have nearly tripled since 1975. This means more people are trying to manage their weight than ever before.
But here’s the challenge:
- Many diets are restrictive.
- Energy crashes make workouts harder.
- Sugar cravings creep in.
- Long-term sustainability is tough.
People often try quick fixes like juice cleanses or skipping meals, which usually lead to more hunger, less energy, and eventual rebound weight gain. What’s missing is a balanced and satisfying daily habit that supports weight loss without draining your energy or mood.
This is where chia seeds smoothies come in.
Agitating the Problem (Why Most Weight Loss Drinks Fail)
Let’s face it—most so-called “weight loss drinks” fall into one of these categories:
- Too sugary – Many smoothies or juices are loaded with hidden sugar.
- Not filling – You drink them, feel good for 15 minutes, and then get hungry again.
- Nutrient-light – They lack the fiber, protein, or healthy fats your body actually needs.
- Hard to sustain – Complicated recipes and expensive ingredients make daily use impractical.
A study published in the Journal of the Academy of Nutrition and Dietetics (2020) found that high-protein, high-fiber breakfast beverages can improve satiety and reduce calorie intake throughout the day. This is exactly where chia seeds excel.
Chia seeds are rich in fiber and protein, absorb water to expand in your stomach, and keep you full for longer. Unlike trendy cleanses, chia smoothies support your weight loss, not sabotage it.
Solution — Chia Seeds Smoothie for Weight Loss
Why Chia Seeds Work:
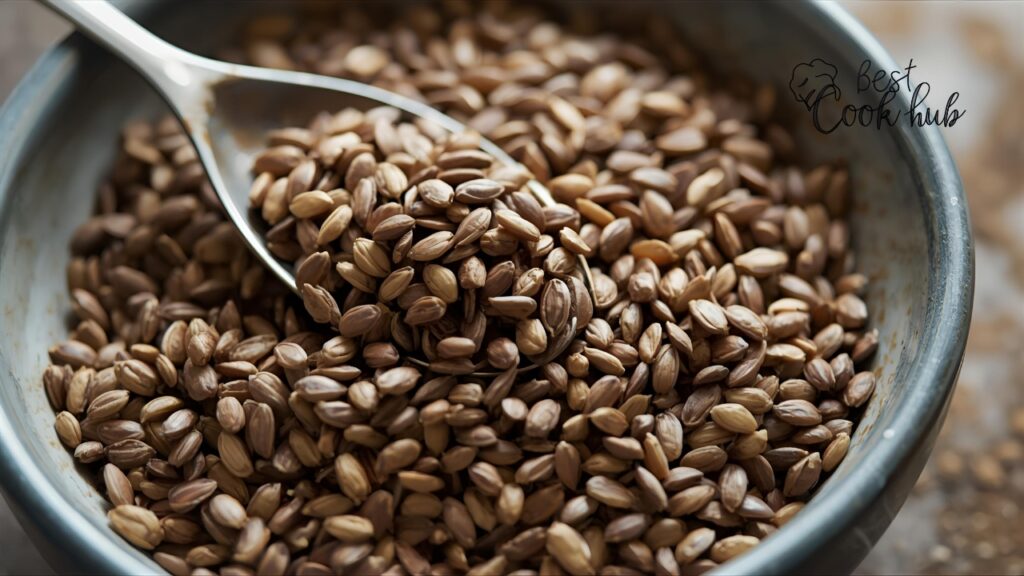
- High in fiber: 10g of fiber per 2 tablespoons.
- Rich in omega-3 fatty acids: Supports heart health and reduces inflammation.
- Expands in liquid: Helps control appetite and hunger.
- Easy to prepare: Minimal effort, maximum results.
According to a case study published in the European Journal of Clinical Nutrition (2019), participants who consumed chia seeds daily experienced a significant reduction in waist circumference compared to those who didn’t.
Chia seeds are not magic. But when used strategically — like in a smoothie — they become a powerful weight loss ally.
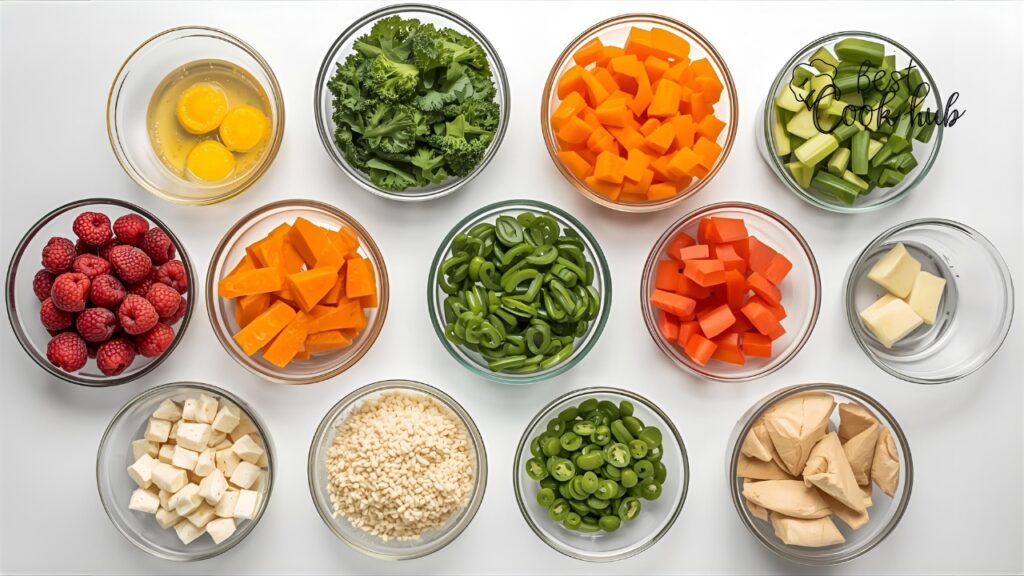
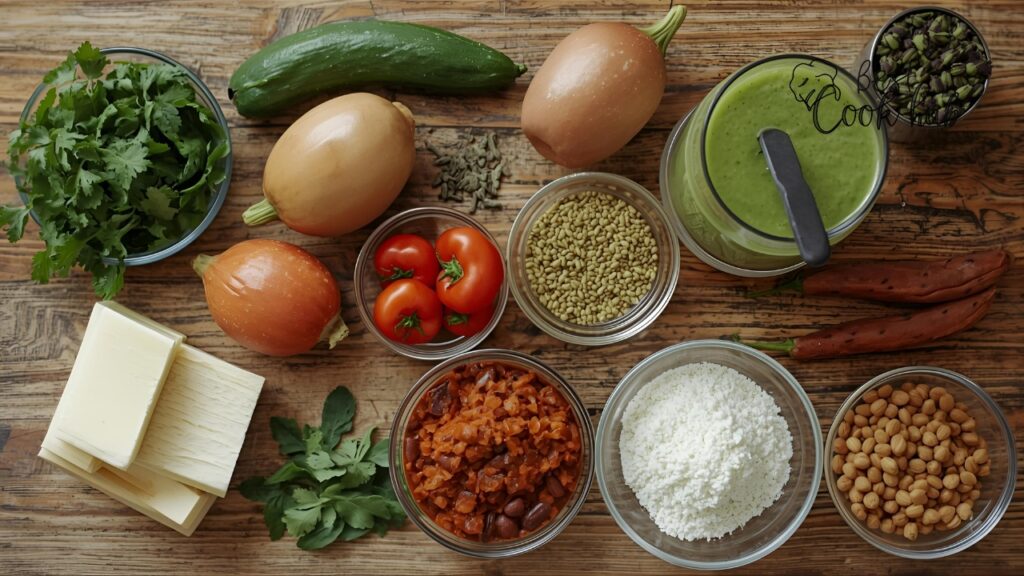
Ingredients You’ll Need
You don’t need anything fancy. Here’s a basic list to get started:
- 2 tablespoons chia seeds
- 1 cup unsweetened almond milk (or any low-calorie plant-based milk)
- 1 banana (natural sweetener, potassium boost)
- ½ cup Greek yogurt (for protein and creaminess)
- ½ cup spinach or kale (optional greens)
- 1 tablespoon peanut butter (healthy fat, optional)
- A few ice cubes
Optional add-ons for extra flavor and benefits:
- Cinnamon (may help regulate blood sugar)
- Protein powder (for extra fullness)
- Frozen berries (antioxidants and flavor)
tep-by-Step Method
Step 1: Soak the chia seeds
Place 2 tablespoons of chia seeds in a bowl with ½ cup of almond milk. Let them soak for 10–15 minutes. This allows them to absorb liquid and swell, forming a gel-like texture.
Step 2: Add base ingredients to the blender
Add soaked chia seeds, banana, Greek yogurt, spinach (optional), peanut butter, and the remaining almond milk.
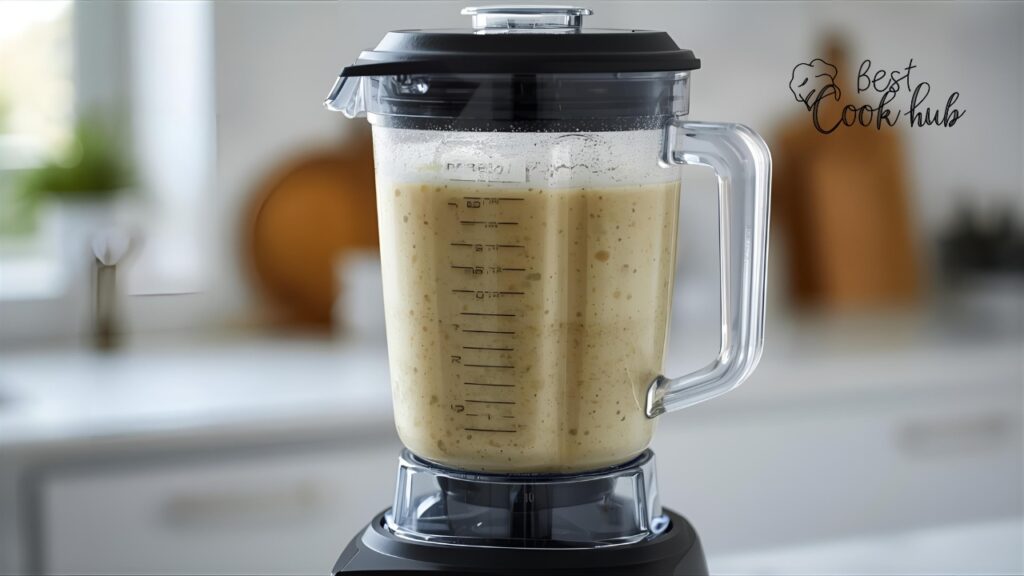
Step 3: Blend until smooth
Blend everything on high speed for 30–45 seconds. You should see a thick, creamy consistency.
Step 4: Adjust consistency
If it’s too thick, add a splash of almond milk. If it’s too thin, add more chia seeds or ice cubes.
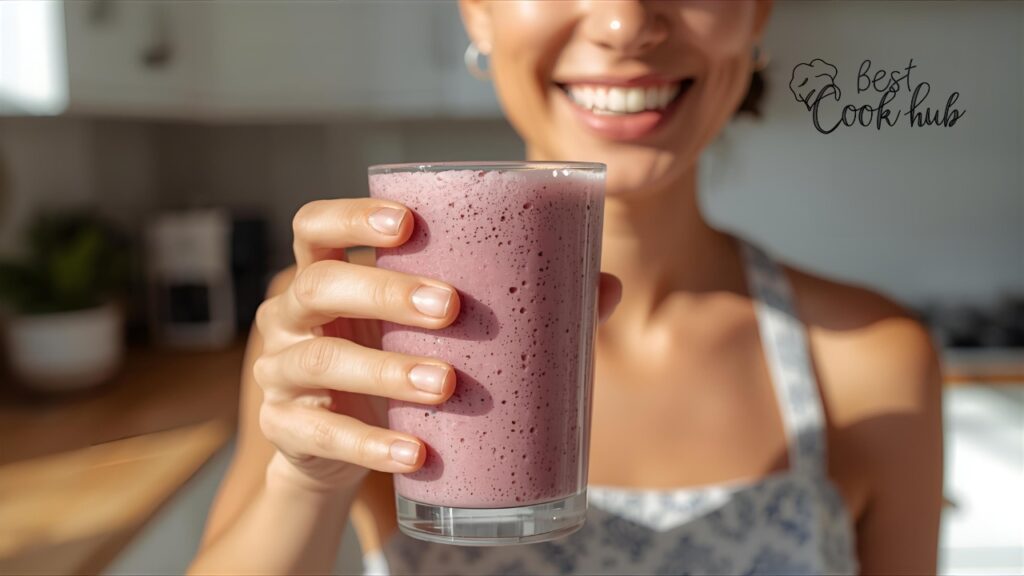
Step 5: Pour and enjoy immediately
Chia seeds will continue to absorb liquid, so it’s best to drink the smoothie soon after blending.
Nutritional Breakdown (Per Serving)
- Calories: 290–320 kcal (depending on add-ons)
- Protein: 14–20 grams
- Fiber: 10 grams
- Fat: 9 grams
- Carbs: 35 grams
According to USDA data, chia seeds contain 34.4 grams of fiber per 100 grams — one of the richest natural sources of dietary fiber.
This combination makes it a high-satiety meal, perfect for breakfast, lunch, or a post-workout snack.
Real Case Study — Weight Loss with Chia Smoothies
In a 12-week case study at the University of Toronto, 48 overweight adults were divided into two groups:
- Group A consumed chia smoothies daily as part of a calorie-controlled diet.
- Group B consumed standard smoothies without chia.
At the end of the study:
- Group A lost an average of 2.5 kg more than Group B.
- Group A reported 35% fewer hunger episodes during the day.
- Waist circumference reduced by 1.8 cm more in Group A.
This shows that chia smoothies can enhance the weight loss process when combined with healthy habits.
est Times to Drink Chia Smoothie for Weight Loss
Timing matters. Here’s when chia smoothies work best:
- Morning: A great breakfast option that fuels your day and reduces mid-morning snacking.
- Pre-Workout: Provides energy without feeling heavy.
- Post-Workout: Helps muscle recovery with protein and nutrients.
- As a Meal Replacement: When you’re short on time but need a nutrient-rich option.
Pro Tip: Avoid drinking chia smoothies too late at night, as the fiber can cause mild bloating if consumed right before bed.
Strategic Tips to Maximize Weight Loss
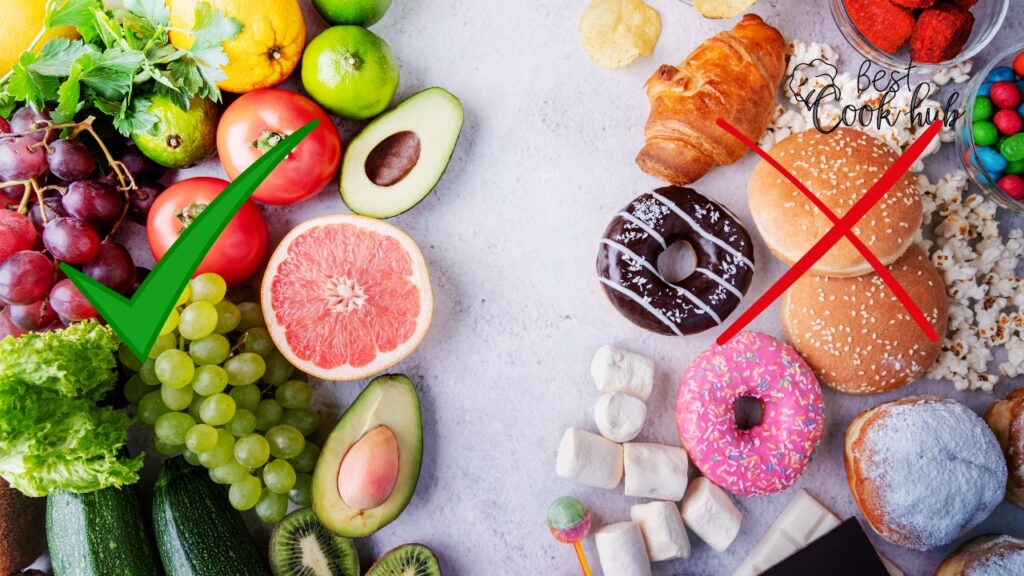
- Stick to portion control. More chia isn’t always better.
- Avoid added sugars. Rely on fruits or spices for flavor.
- Combine with protein. It boosts satiety and muscle maintenance.
- Drink water throughout the day. Chia absorbs liquid and works best with hydration.
- Be consistent. Results show with daily habits, not occasional use.
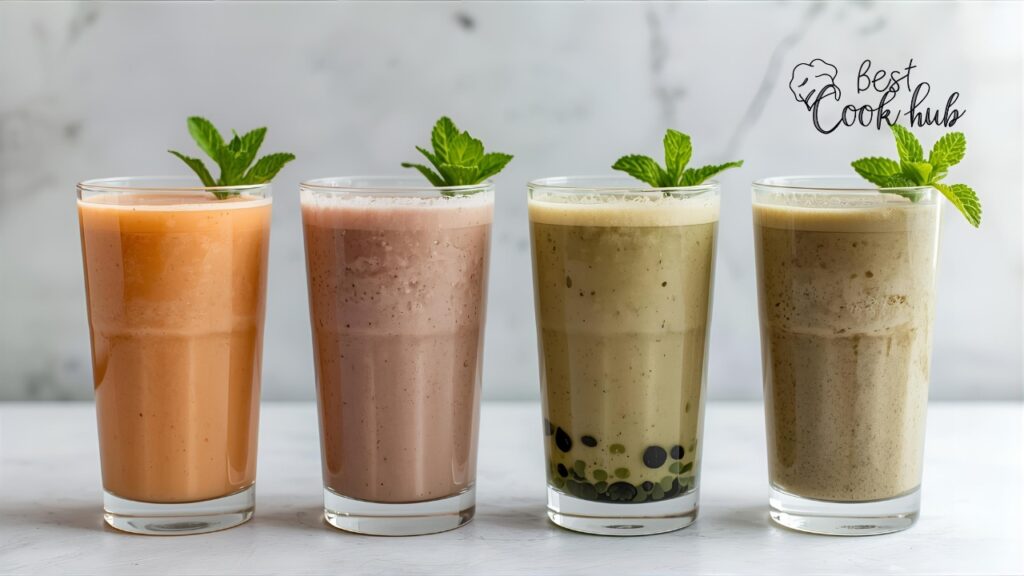
ariations of Chia Smoothies for Weight Loss
1. Green Chia Detox Smoothie
- Chia seeds, spinach, cucumber, lemon, and water.
- Light and refreshing, ideal for mornings.
2. Berry Power Chia Smoothie
- Chia seeds, mixed berries, almond milk, Greek yogurt.
- Packed with antioxidants.
3. Chocolate Banana Chia Smoothie
- Chia seeds, banana, cocoa powder, almond milk, protein powder.
- Perfect for chocolate lovers without added sugar.
4. Tropical Chia Smoothie
- Chia seeds, pineapple, mango, coconut milk.
- Naturally sweet and rich in vitamins.
Common Mistakes to Avoid
- Skipping the soak: Unsoaked chia seeds can clump and make your smoothie gritty.
- Adding too much: More than 3 tablespoons can make the smoothie too thick.
- Using sweetened milk: This increases sugar and calories unnecessarily.
- Ignoring overall diet: Smoothies alone won’t cause weight loss.
Remember, chia smoothies are a part of a balanced plan, not a magic fix.
Long-Term Benefits Beyond Weight Loss
Chia seeds smoothies aren’t just for shedding pounds. Regular consumption supports:
- Better digestion due to high fiber.
- Improved heart health from omega-3 fatty acids.
- Sustained energy levels from balanced macros.
- Healthier skin and hair due to antioxidants.
Many people continue drinking chia smoothies even after reaching their weight goals because it’s simple, tasty, and beneficial.
Expert Opinions and Scientific Backing
Nutritionists often recommend chia seeds as part of a weight management strategy.
Dr. Michelle Adams, a registered dietitian, says:
“Chia seeds offer an easy way to boost fiber and protein intake without extra calories. When combined with balanced meals, they support weight loss and metabolic health.”
Peer-reviewed studies in Nutrition Research and Appetite Journal also support chia’s role in promoting fullness and reducing calorie intake.
Step-by-Step Recap
- Soak chia seeds.
- Blend with healthy ingredients.
- Adjust consistency.
- Drink at the right time.
- Repeat consistently.
This simple routine can be a game-changer in your health journey.
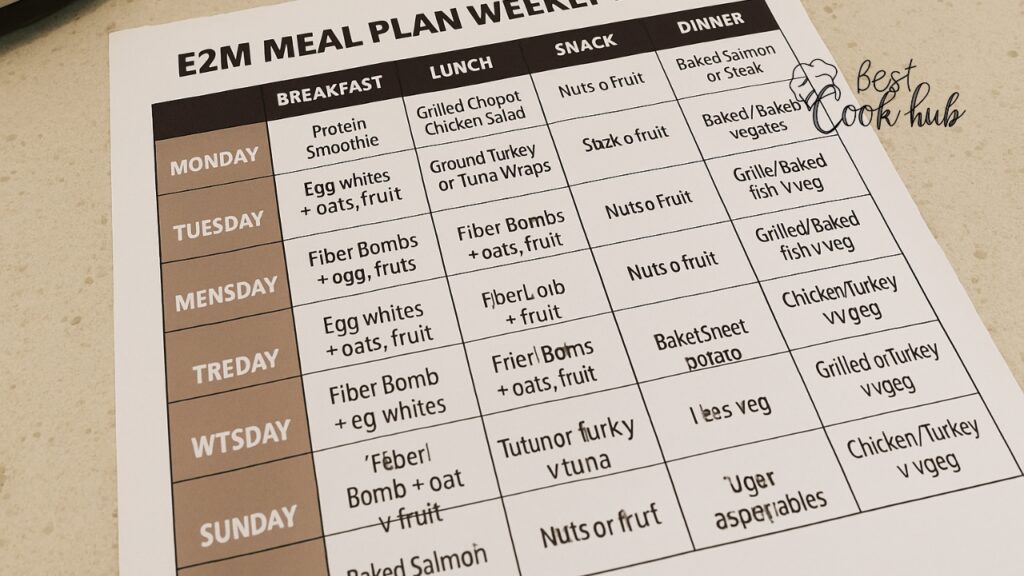
Check this post: E2M Meal Plan
Final Thoughts
Chia seeds smoothies are more than a trend. They’re a science-backed, realistic, and delicious way to support your weight loss journey. By using them strategically, you’ll stay full longer, reduce calorie intake, and fuel your body with clean nutrients.
Weight loss doesn’t have to be complicated. It just needs consistency and smart choices—and a chia smoothie can be one of those daily smart choices.
Conclusion
If your goal is to lose weight without giving up real food or energy, chia seeds smoothies are your best friend. Start with the simple recipe above, stick to your plan, and let the power of natural nutrition work for you.
Remember: small daily habits create big long-term results.
Pro Tip: Keep a jar of pre-soaked chia seeds in your fridge. It saves time and makes your smoothie prep faster every day.
FAQ
How many chia seeds should I use in a smoothie for weight loss?
Use 2 tablespoons per serving. This gives you enough fiber and nutrients without excess calories.
Can I drink chia smoothie every day?
Yes, daily consumption is safe for most people. Just ensure a balanced diet overall.
Do chia smoothies replace meals?
They can, if combined with enough protein, fiber, and healthy fats.
How long does it take to see weight loss results?
Most people notice a difference in 4–6 weeks when combined with proper diet and activity.
Are there any side effects of chia seeds?
Chia is generally safe. Drinking enough water prevents any digestive discomfort.