I remember when I reheated frozen tamales for a family dinner and thought, “How hard can this be?” I tossed them in the microwave, waited a few minutes, and ended up with dry masa, cold centers, and a disappointed table.
Does this sound familiar?
In my years of cooking and helping home cooks fix leftover Mexican food, I’ve seen many people struggle with the same thing. Frozen tamales look simple, but reheating them the wrong way can turn soft masa dough into something rubbery, crumbly, or unevenly warm.
The good news is this: reheating frozen tamales is easy when you understand moisture, heat, and timing.
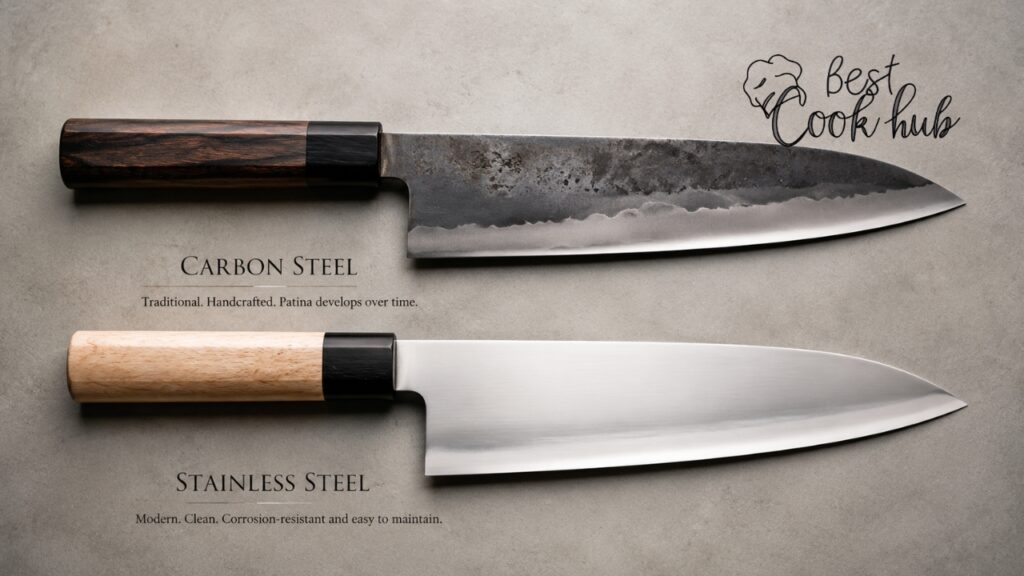
Tamales are not just “leftovers.” They are steamed masa wrapped around flavorful fillings like pork, chicken, beef, cheese, beans, vegetables, or sweet corn, usually protected by corn husks or banana leaves.
That wrapper matters.
It helps hold moisture inside, protects the masa, and gives you that soft, tender texture people love. So, if you want to know how to reheat frozen tamales without drying them out, the secret is simple: treat them like steamed food, not like frozen bread.
Quick Answer: What Is the Best Way to Reheat Frozen Tamales?
The best way to reheat frozen tamales is by steaming them for about 30 to 45 minutes, depending on their size and filling. Steaming keeps the masa moist, warms the filling evenly, and gives you the closest texture to freshly cooked tamales.
Need them faster?
You can also reheat frozen tamales in the microwave, oven, air fryer, Instant Pot, or skillet. Each method works, but each gives a slightly different result.
The steamer method is best for moisture.
The microwave is best for speed.
The oven is best for reheating a batch.
The air fryer is best if you like a slightly crisp outside.
The Instant Pot is best when you want fast steam with less babysitting.
Have you ever wondered why restaurant tamales taste soft while reheated ones at home often taste dry? Most of the time, it comes down to steam.
Why Frozen Tamales Need Gentle Reheating
Tamales are made with masa, and masa needs moisture to stay soft. Once tamales are frozen, the masa firms up and the filling becomes dense.
If you blast frozen tamales with dry heat too quickly, the outside can overcook before the center gets hot. That is why some tamales feel tough on the edges but cold in the middle.
Food safety also matters.
The USDA recommends reheating leftovers to an internal temperature of 165°F / 74°C. This is especially important for meat-filled tamales, chicken tamales, pork tamales, beef tamales, and cheese tamales that have been stored in the freezer.
A simple food thermometer can save you from guessing.
If the center is hot, steamy, and reaches 165°F, your tamales are ready to eat. If not, give them more time.

Should You Thaw Frozen Tamales Before Reheating?
You can reheat tamales from frozen, and in most cases, that is the easiest option. Steaming frozen tamales directly works very well because the slow heat warms the masa and filling evenly.
But should you thaw them first?
If you have time, thawing frozen tamales overnight in the refrigerator can reduce reheating time. It also helps the center warm faster, especially with large tamales or thick meat fillings.
Do not thaw tamales on the counter.
Leaving frozen food at room temperature for too long can put it in the unsafe temperature zone where bacteria may grow. Use the fridge if you want to thaw them safely.
For best results, keep tamales wrapped in their husks while thawing and reheating. The husks act like a natural moisture shield.
Method 1: How to Reheat Frozen Tamales in a Steamer
This is the classic method and my top recommendation.
If you want moist, soft, tender tamales, use a steamer basket, tamale steamer, or large pot with a rack. This method gives the best texture because it brings moisture back into the masa.
Steps
Add 1 to 2 inches of water to the bottom of a pot. Make sure the water does not touch the tamales.
Place a steamer basket or rack inside the pot. Stand the frozen tamales upright with the open end facing up if possible.
Cover the pot with a lid. Bring the water to a gentle boil, then reduce to medium heat.
Steam frozen tamales for 30 to 45 minutes. Large tamales may need closer to 45 minutes.
Check one tamale by opening the husk carefully. The masa should be soft and hot, and the filling should be heated through.
Cooking Tip
Do not let the pot run dry. Check the water level every 15 minutes and add hot water if needed.
Have you ever smelled a burnt pot while reheating tamales? That usually happens when the steamer water evaporates completely.
Best For
This method is best for pork tamales, chicken tamales, beef tamales, cheese tamales, homemade tamales, and large batches.
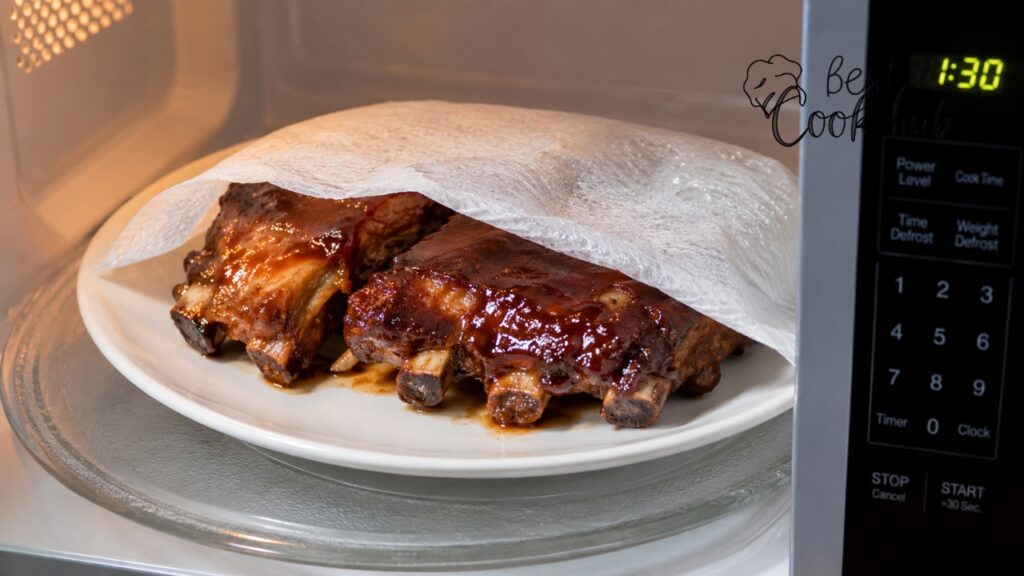
Method 2: How to Reheat Frozen Tamales in the Microwave
The microwave is the fastest way to reheat frozen tamales, but it needs moisture control. Without moisture, the masa can become hard or rubbery.
If you are reheating one or two tamales for lunch, this method is useful.
Steps
Keep the tamale in its corn husk. Wrap it in a damp paper towel.
Place it on a microwave-safe plate. Microwave on medium or high heat for 1 minute.
Flip the tamale and microwave for another 1 to 2 minutes. If still cold in the center, continue in 30-second intervals.
Let it rest for 1 minute before opening. The steam inside will keep warming the masa.
Cooking Tip
Microwaves often heat unevenly. If your tamale has a meat filling, check the center before eating.
Want a softer result?
Place a small microwave-safe cup of water beside the tamale while reheating. This adds steam to the microwave and helps prevent dry masa.
Best For
This method is best for quick meals, single tamales, office lunches, and late-night snacks.

Method 3: How to Reheat Frozen Tamales in the Oven
The oven is great when you need to reheat several frozen tamales at once. It is not as moist as steaming, but it works well if you wrap the tamales properly.
The key is foil.
Foil traps steam and keeps the tamales from drying out while the oven warms them.
Steps
Preheat the oven to 325°F / 165°C. Keep the tamales in their husks.
Wrap each tamale tightly in aluminum foil. Place them on a baking sheet.
Bake frozen tamales for 25 to 35 minutes. Turn them halfway through for even heating.
Remove one tamale and check the center. If it is not hot enough, return it to the oven for another 5 to 10 minutes.
Cooking Tip
For extra moisture, sprinkle a few drops of water on the husk before wrapping in foil. Do not soak it.
Does your oven run hot?
Use 300°F instead and warm them a little longer. Lower heat gives the masa more time to soften without drying out.
Best For
This method is best for reheating 6 to 12 tamales, meal prep, family dinners, and frozen tamales with thick fillings.
Method 4: How to Reheat Frozen Tamales in an Air Fryer
The air fryer is not the traditional choice, but many home cooks love it. It gives tamales a slightly crisp outer texture while keeping the inside warm.
But here is the catch.
Air fryers use dry circulating heat, so tamales can dry out if you overcook them. This method works best when you like the masa a little firmer.
Steps
Preheat the air fryer to 300°F to 325°F. Keep the tamales in their husks if the husks are clean and intact.
Lightly mist the husks with water. Place tamales in a single layer in the basket.
Air fry frozen tamales for 12 to 18 minutes. Flip halfway through.
Check the center. Add 3 to 5 more minutes if needed.
Cooking Tip
Do not overcrowd the basket. Air needs to move around each tamale.
If your tamales are small, start checking at 10 minutes. If they are large or very dense, they may need closer to 20 minutes.
Best For
This method is best for crispy edges, small batches, and people who like a slightly toasted tamale texture.

Method 5: How to Reheat Frozen Tamales in an Instant Pot
The Instant Pot is excellent because it creates steam quickly and holds moisture well. If you do not own a traditional tamale steamer, this is one of the best alternatives.
It is especially helpful for busy nights.
You can reheat frozen tamales while preparing salsa, rice, beans, or salad on the side.
Steps
Pour 1 cup of water into the Instant Pot. Place the trivet or steamer basket inside.
Stand the frozen tamales upright if possible. Do not let them sit directly in the water.
Close the lid and set the valve to sealing. Use steam mode or pressure cook on high for 15 to 20 minutes.
Allow a natural release for 5 minutes, then carefully release the remaining pressure.
Check the internal temperature and texture before serving.
Cooking Tip
Use natural release for a few minutes. This gives the masa time to relax and absorb steam.
Have you ever opened a tamale too quickly and found the masa still tight or crumbly? Letting it rest helps fix that.
Best For
This method is best for fast steaming, 4 to 10 tamales, and moist reheating without using a large pot.
Method 6: How to Reheat Frozen Tamales in a Skillet
A skillet is not the best method for fully frozen tamales unless you use steam first. But it works nicely if you want a lightly toasted finish.
Think of it as a two-step method.
Steam or microwave the tamales first, then crisp them gently in a skillet.
Steps
Reheat frozen tamales using the microwave or steamer until hot. Remove the husks carefully.
Heat a nonstick or cast-iron skillet over medium-low heat. Add a tiny amount of oil or butter if desired.
Place the unwrapped tamales in the skillet. Toast for 1 to 2 minutes per side.
Serve immediately with salsa, crema, or queso fresco.
Cooking Tip
Use medium-low heat, not high heat. Masa can burn quickly.
This method is especially tasty for cheese tamales, bean tamales, and sweet corn tamales.
Best For
This method is best for texture lovers, crispy masa edges, and reheated tamales served as breakfast or brunch.
Best Method Comparison Table
| Reheating Method | Time from Frozen | Texture Result | Best Use |
| Steamer | 30–45 minutes | Soft, moist, traditional | Best overall |
| Microwave | 3–6 minutes | Fast, slightly firmer | 1–2 tamales |
| Oven | 25–35 minutes | Warm, steady, slightly drier | Batches |
| Air Fryer | 12–18 minutes | Lightly crisp outside | Small batches |
| Instant Pot | 15–20 minutes plus release | Moist and tender | Quick steaming |
| Skillet Finish | After reheating | Crisp edges | Extra flavor |
Which method should you choose?
If you care most about texture, steam them. If you care most about speed, microwave them. If you are feeding a family, use the oven or Instant Pot.
Mini Case Study: Testing Frozen Tamales at Home
I once tested 12 frozen pork tamales using three methods: steamer, microwave, and oven. The goal was simple: find the method that kept the masa soft while heating the filling properly.
The steamed tamales took the longest, about 40 minutes, but had the best texture. The masa stayed moist, the pork filling heated evenly, and the husks peeled away cleanly.
The microwave tamales were ready in about 4 minutes, but the edges were slightly firmer. They were still good, especially with salsa, but they did not taste as fresh as the steamed batch.
The oven batch landed in the middle.
The tamales were evenly heated, but they needed foil and a touch of moisture to avoid dryness. Without foil, the outside became too firm.
That small kitchen test confirmed what many cooks already know: steam is the safest choice for quality, while the microwave is the best emergency method.
How to Keep Tamales Moist When Reheating
Moisture is everything.
Tamales dry out when steam escapes too quickly or when they are reheated without protection. Keep the husk on whenever possible.
If the husk is missing, wrap the tamale in parchment paper, foil, or a damp paper towel depending on the reheating method.
Add water to the steamer.
Use foil in the oven.
Use a damp towel in the microwave.
Mist lightly before air frying.
Small details make a big difference.
Have you ever reheated a tamale and noticed the filling was hot but the masa tasted dry? That usually means the reheating method warmed the inside but pulled moisture from the outside.

How Long Do Frozen Tamales Last?
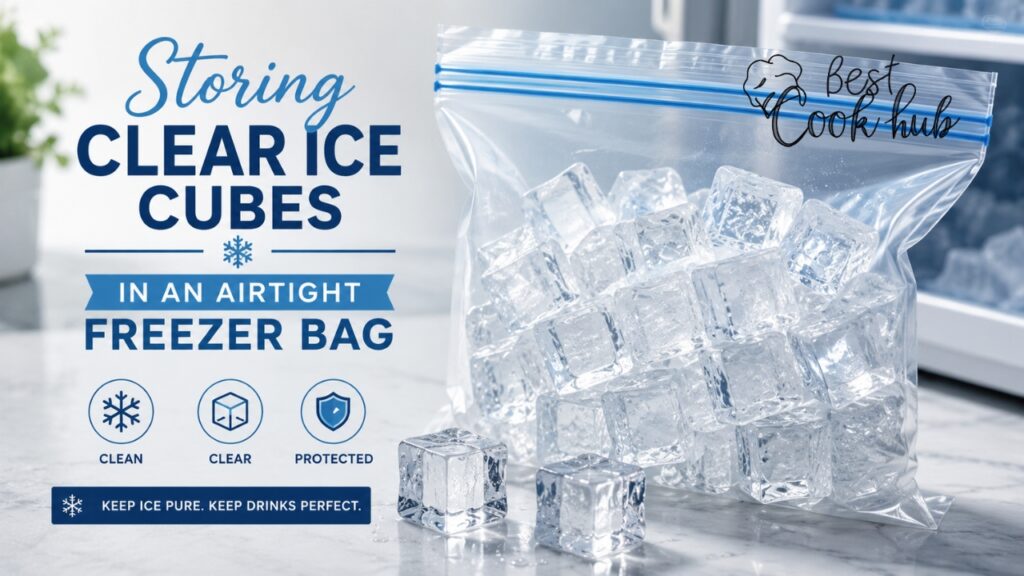
Many homemade tamales can keep good quality in the freezer for several months when wrapped properly. For best flavor and texture, use airtight freezer bags, remove extra air, and label them with the date.
Allrecipes notes that some tamales can be frozen for up to 6 months when stored in heavy-duty resealable bags. Quality may slowly decline after that, even if the food remains frozen.
For best taste, I recommend eating frozen tamales within 3 to 6 months.
Freezer burn is the enemy.
If the husks look icy, dry, or cracked, the tamales may still be usable, but the texture may not be as good. Add extra moisture during reheating.
How to Store Tamales Before Freezing
Let cooked tamales cool before freezing, but do not leave them sitting out for hours. Once cool, keep them in their husks and arrange them in freezer-safe bags or containers.
Remove as much air as possible.
For extra protection, wrap groups of tamales in plastic wrap or foil before placing them in freezer bags. This helps protect the masa from freezer burn.
Label the bag with the filling and date.
Trust me, frozen pork tamales and sweet tamales can look very similar once they are wrapped. A quick label saves confusion later.
You can check this post: How to Reheat Ribs
Common Mistakes When Reheating Frozen Tamales
The first mistake is removing the husk too early.
The husk protects the masa and keeps steam close to the tamale. Remove it only after reheating unless you are doing a skillet finish.
The second mistake is using high dry heat.
A very hot oven or air fryer can make the outside tough before the inside is warm. Gentle heat works better.
The third mistake is not checking the center.
A tamale can feel hot outside but still be cool in the middle. This happens often with frozen meat-filled tamales.
The fourth mistake is overcrowding.
Whether you use a steamer, air fryer, or Instant Pot, leave enough room for steam or air to circulate.
The fifth mistake is skipping rest time.
Let tamales rest for 1 to 3 minutes after reheating. This helps the heat even out and makes the masa taste softer.
What Sauces Go Best with Reheated Tamales?
A perfectly reheated tamale is good on its own, but the right sauce makes it better.
Try salsa roja for pork or beef tamales. The deep chili flavor pairs beautifully with rich meat fillings.
Use salsa verde for chicken tamales, cheese tamales, or vegetable tamales. It adds brightness and acidity.
Crema, queso fresco, pickled onions, and fresh cilantro also work well.
Want a comforting plate?
Serve reheated tamales with Mexican rice, refried beans, avocado, and a spoonful of warm sauce.

Food Safety Tips for Reheating Frozen Tamales
Always reheat leftovers to 165°F / 74°C in the center. This is the safest target for frozen cooked tamales, especially those filled with meat, poultry, beans, or cheese.
Use a food thermometer if you are unsure.
When microwaving, rotate the tamales and let them rest before checking. Microwaves can create hot spots and cold spots.
Do not reheat frozen tamales in a slow cooker.
Slow cookers heat too gradually, which can keep food in an unsafe temperature range for too long. Use a steamer, oven, microwave, Instant Pot, or air fryer instead.
If tamales smell sour, look slimy, or have unusual discoloration, throw them away.
No sauce can fix unsafe food.
Best Way to Reheat Different Types of Frozen Tamales
Pork tamales do best in a steamer or Instant Pot because the filling is dense and needs steady heat.
Chicken tamales also reheat beautifully with steam. Add salsa verde after reheating for a fresh flavor boost.
Cheese tamales can be microwaved, steamed, or skillet-finished. Be careful not to overheat them, or the cheese may leak out.
Sweet tamales are best steamed or microwaved with a damp towel. Dry heat can make them crumbly.
Vegetable tamales are flexible. Steam for softness or air fry for a firmer bite.
Banana leaf tamales should usually be steamed because banana leaves help trap aroma and moisture. Keep the leaves on while reheating.
Expert Tips for Better Reheated Tamales
Use steam whenever you can.
Keep the wrapper on.
Do not rush large frozen tamales.
Check the center, not just the outside.
Add sauce after reheating, not before, unless you are baking a tamale casserole-style dish.
If reheating for guests, steam the tamales first and hold them warm in a covered pot off the heat for a short time. This keeps them moist without overcooking.
If reheating for meal prep, freeze tamales in small packs of 2 to 4. That way, you only reheat what you need.
The Best Overall Method
If I had to choose only one method, I would choose steaming.
It gives you soft masa, hot filling, and the most traditional tamale texture. It also works for nearly every type of frozen tamale.
The microwave is still useful when you are hungry and short on time.
The oven is practical for a crowd.
The air fryer is fun when you want crisp edges.
The Instant Pot is a modern shortcut that still respects the tamale’s need for steam.
So, the next time you open the freezer and find a bag of homemade tamales, do not worry. You already know exactly what to do.
Warm them gently, protect the moisture, check the temperature, and serve them with confidence.
FAQs About How to Reheat Frozen Tamales
Can you reheat frozen tamales without thawing?
Yes, you can reheat frozen tamales without thawing. Steaming is the best method and usually takes about 30 to 45 minutes from frozen.
If you thaw them overnight in the refrigerator, reheating will be faster. Do not thaw tamales on the counter.
What is the fastest way to reheat frozen tamales?
The microwave is the fastest way. Wrap each tamale in a damp paper towel and microwave in short intervals until hot.
For best results, flip the tamale halfway through and let it rest for 1 minute before eating.
How do you keep tamales from drying out when reheating?
Keep the husk on and use moisture. Steam them, wrap them in a damp towel for the microwave, or use foil in the oven.
Dry heat without protection is the main reason reheated tamales become tough.
Can you reheat frozen tamales in an air fryer?
Yes, you can reheat frozen tamales in an air fryer. Use 300°F to 325°F and heat for about 12 to 18 minutes.
Lightly mist the husks with water first. This helps prevent the masa from drying too much.
How do I know when frozen tamales are fully reheated?
The center should be hot and steamy, and the masa should feel soft. For food safety, the internal temperature should reach 165°F / 74°C.
If the outside is hot but the middle is cool, keep reheating for a few more minutes